
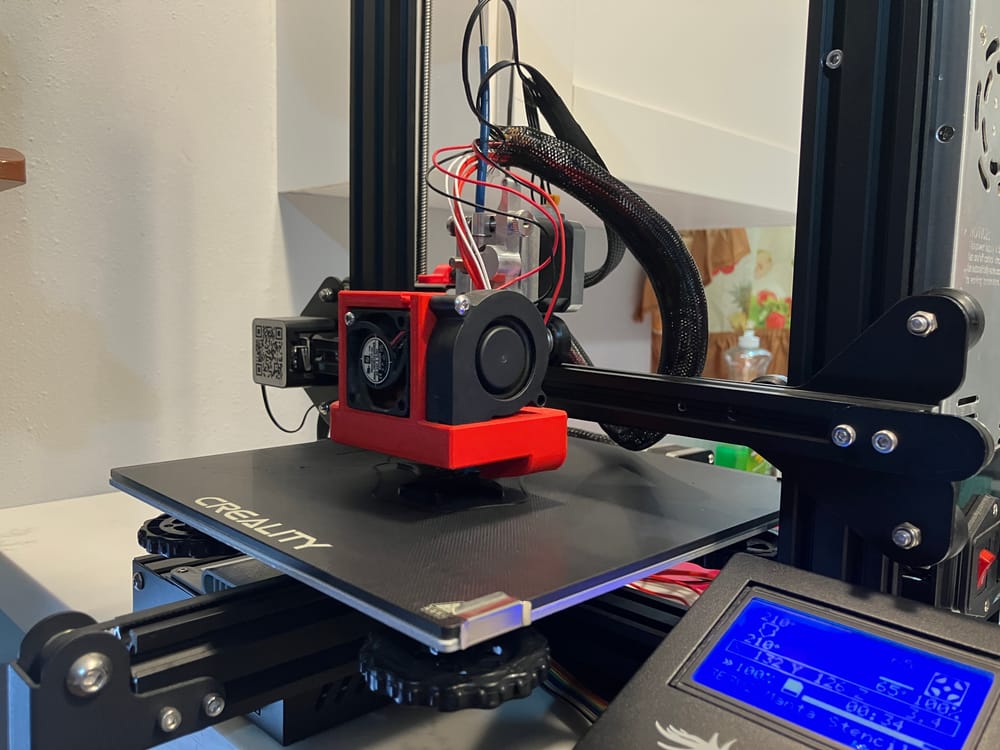
My Ender-3 Likes to Rip Itself Apart
I don't exactly have the ideal circumstances to operate a 3D printer at the moment. Hot, muggy climate, poor ventilation, and a slew of customizations born out of necessity and what was available. But don't let the title fool you; I love this machine and all it has taught me about 3D printing, electronics, and overcoming resource scarcity in an isolated corner of the world: my temporary home on the island of St Kitts. I'm writing this to serve as documentation for my future self and to anyone who finds themselves in a similar scenario.
Custom parts:
- Extruder - Micro Swiss Direct Drive
- Control Board - BTT SKR MiniE3 V3.0
- Firmware - Marlin Bugfix 2.0.7
- Build Plate - Ender-3 Glass Bed
Box of Scraps - Initial Assembly

If someone offers you a 3D printer in St. Kitts, you take it, even if it is a cardboard box full of random parts. I was warned,
It should all be there. The old board fried and the extruder broke, so I got new aftermarket ones. I just never had time to reassemble it.
The structure was simple enough to assemble and followed Ender's own stock instructions, excluding the extruder assembly and wiring. I was already familiar with this piece, given I am a glutton for punishment and have a stock Ender-3 at home. However, the wiring of the new board was complex, particularly because the box of parts contained two sets of each wire: one from the stock board and one from the new one, mixed together like tech soup. Luckily, the wire terminations are the same, are labeled with yellow X, Y, Z, and E markers which refer to the motors they operate, and a pinout of the board is available on BTT's GitHub. I've got it attached here in case that repository disappears:
To the non-wiring-diagram-initiated like myself, this pinout can be intimidating, but here are the important things to know:
- All wires connecting to the extruder assembly are longer and typically come packaged together in a wire harness.
- XM, YM, ZM, (Axis), EM (Extruder) at the top are your motor connections.
- FANs in the bottom/middle are your fan connections:
- FAN0: Part cooling fan - aimed at printer head/build plate from extruder
- FAN1: Hotend - cools the extruder itself
- FAN2: Board fan - pointed at the control board
- X-STOP, Y-STOP, Z-STOP at the bottom are the connections to the mechanical "endstop" switches on each axis (used to detect the home position of the extruder assembly).
- The screen ribbon cable plugs into the one big port where it fits.
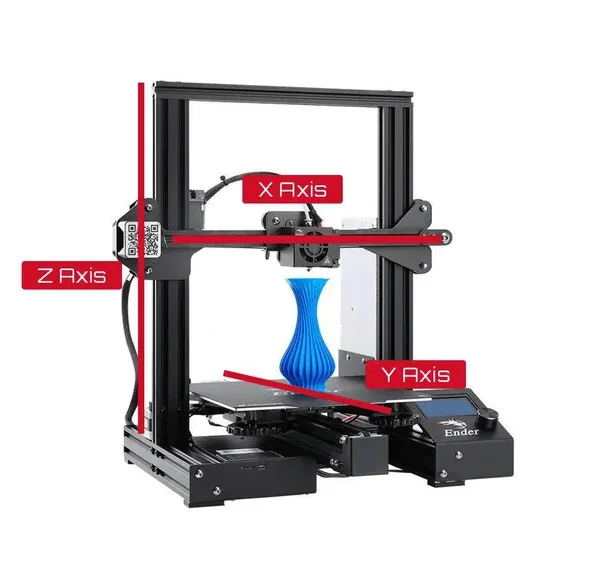
- To know your axis, refer to the following:
Troubleshooting Documentation
Here is where I document problems I have had post-assembly and share the solutions with you:
Improper Controller Board Fan Termination
In my box of goodies, I found one fan that could attach to the top plate of the control board enclosure correctly, but there was no plug with a compatible key shape on the control board. I ALSO had a fan that couldn't properly attach to the enclosure lid, but could plug into the control board. I think you know where this is going - snipped and stripped both wires on both fans, twisted and electrical-taped the good parts together. I wasn't really concerned about whether the fan was pulling or exhausting given that I could pull the tape off and reverse the connection easily if I wanted. I happened to end up pulling fresh air into the enclosure. Problem solved!
Extruder Reversal
One of the first problems I encountered after assembly was that the extruder motor was rotating backwards, meaning pushing filament up and away from the extruder when it should have been pulling it in, and vice versa. The solutions I found were one of 2 options. 1: Write and flash new code to the control board to reverse it, or 2: change the order of the pins in the cable where it terminates into the extruder motor. In the interest of not testing my luck and bricking the machine, I went with option 2. To reorder the pins, do the following:
- Turn off the printer - seems redundant but I surprise myself sometimes.
- Unplug the cable attached to the top of the extruder stepper motor.
- Use a tiny flathead screwdriver or a dull knife to pry each plastic tab on the plug up just enough to free the metal enclosure inside (attached to the wire) from its plastic terminal.
IMPORTANT: REMEMBER WHICH WIRES WERE IN WHICH TERMINALS ORIGINALLY
- Place the wires back into terminals in the following order 1 2 3 4 -> 4 3 2 1. In other words, switch the positions of the outer most wires, then the positions of the two middle ones. Do not put any wires in terminals where there wasn't one to begin with (there are 6 terminals, only the outer ones and inner 2 are populated).
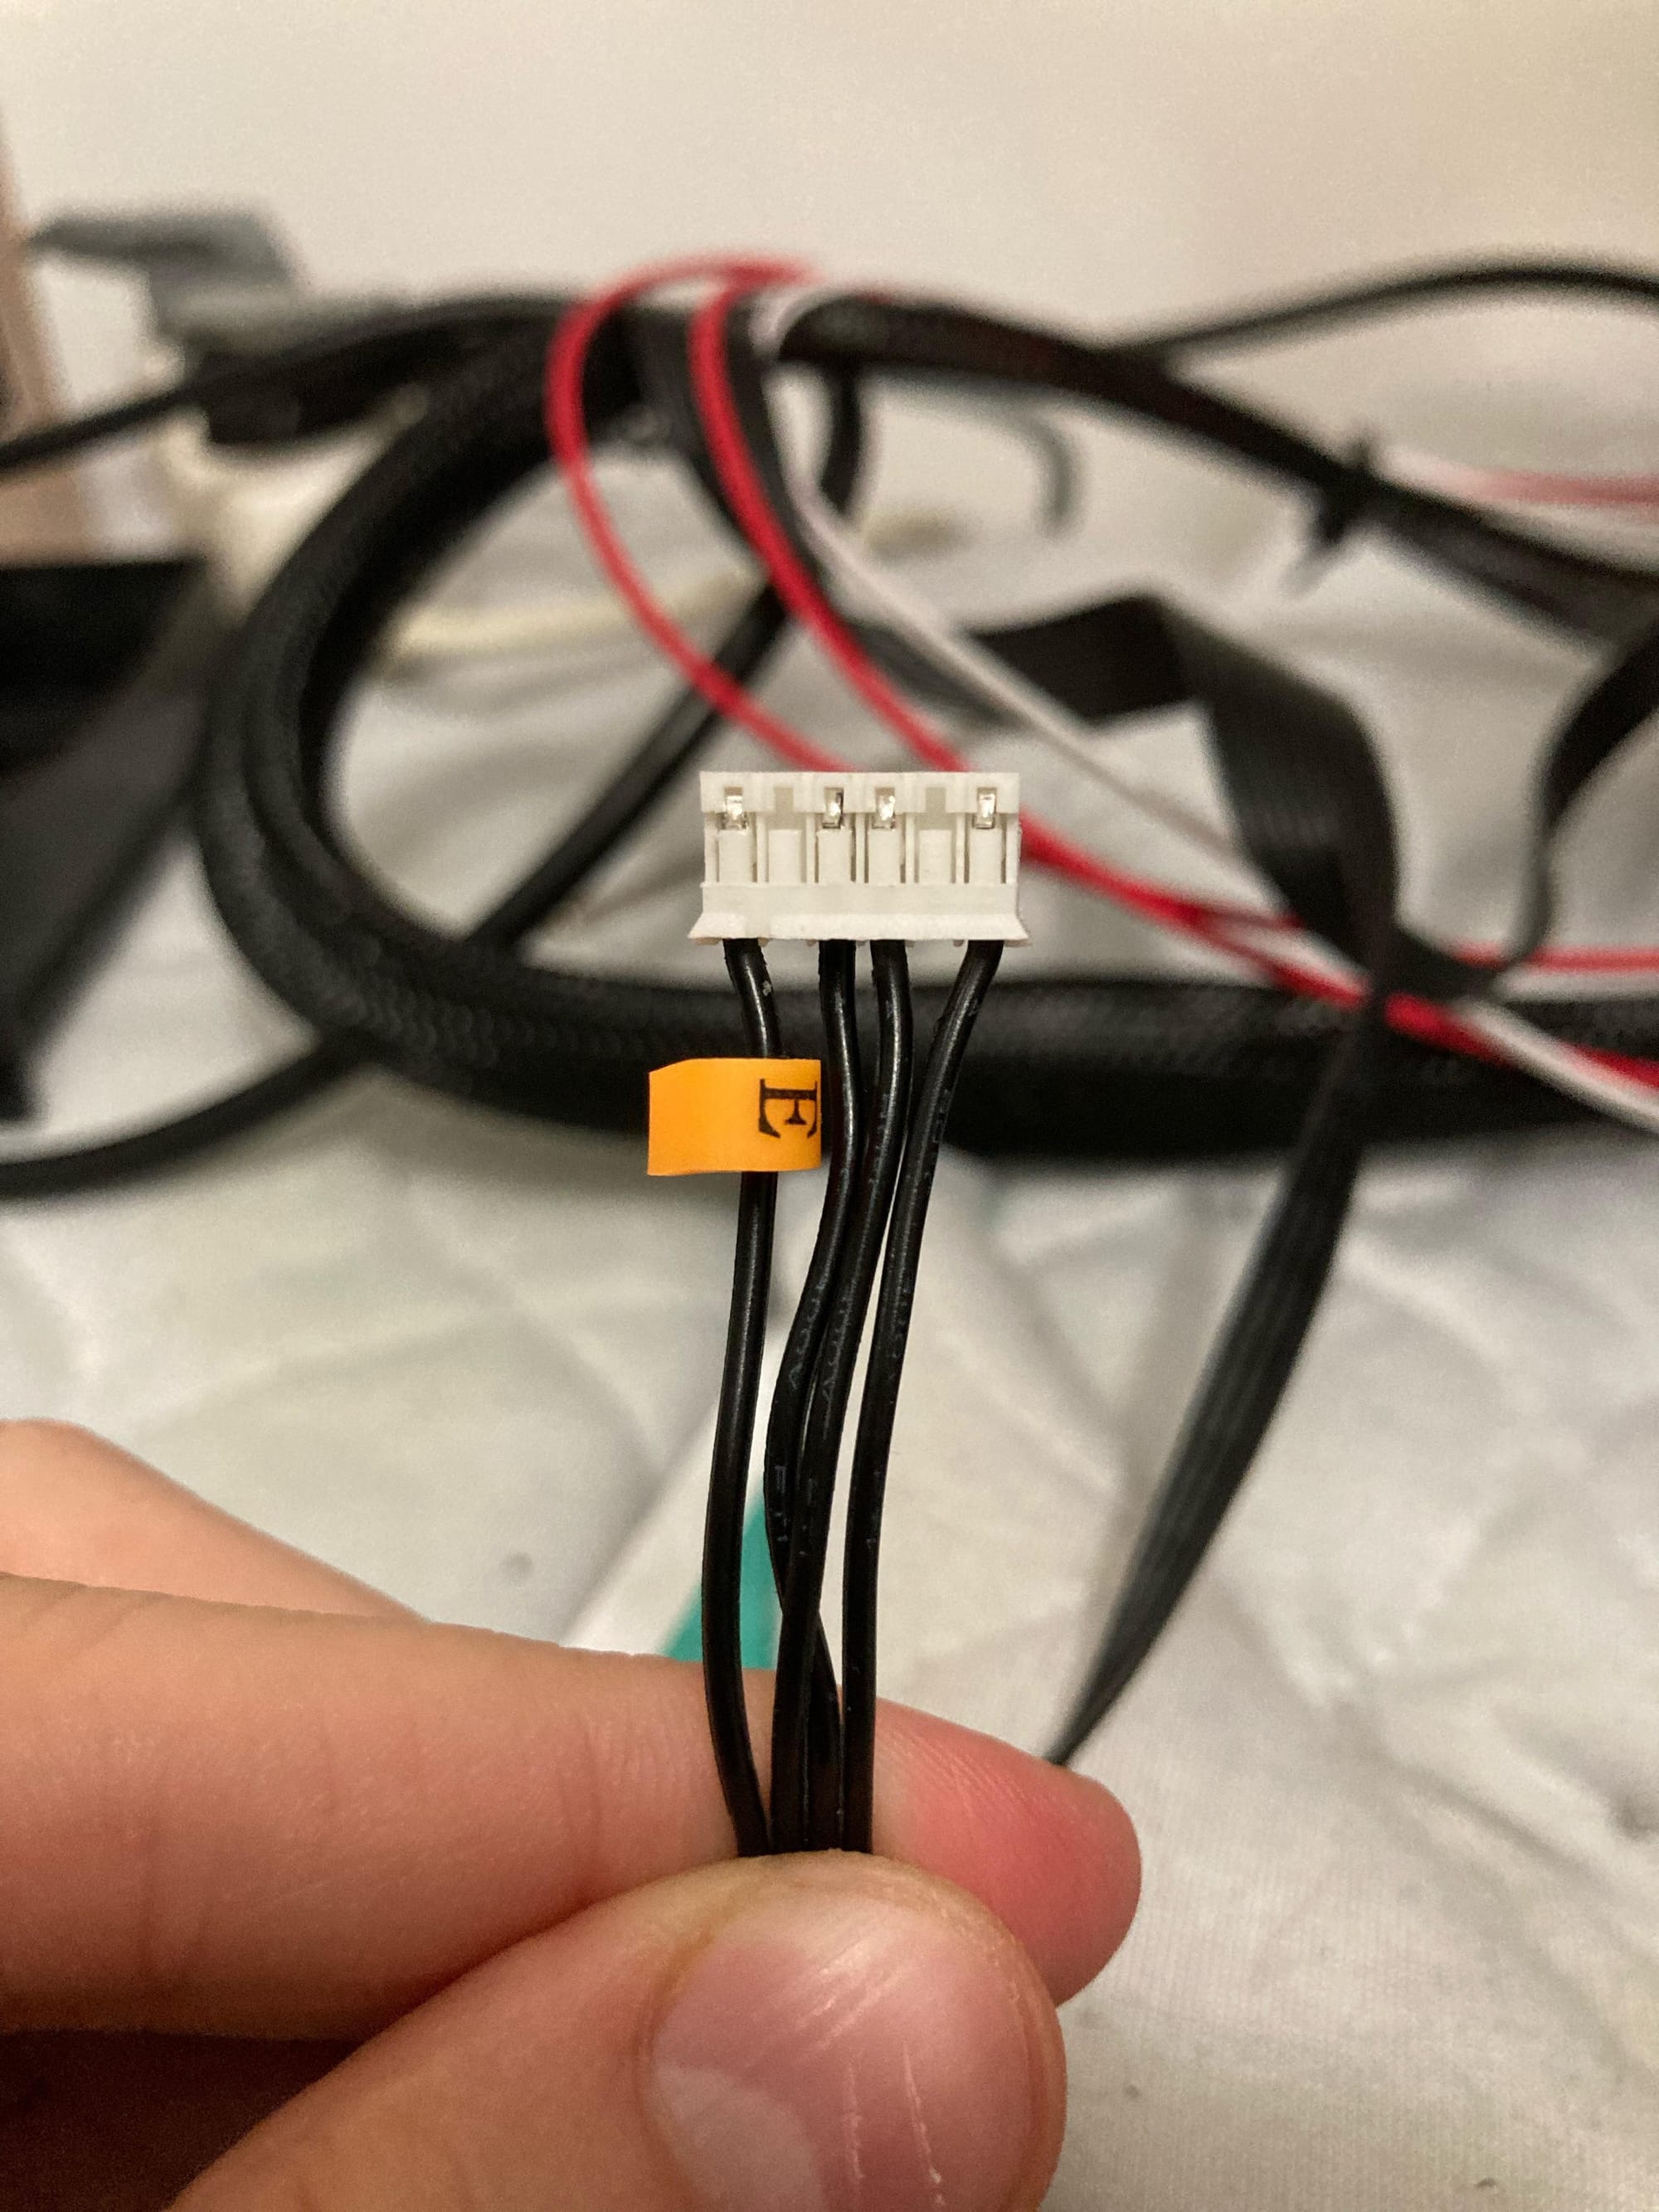
Sidenote: I recently experienced this issue again when the Ender's notoriously bad cable management resulted in the extruder wire getting yanked out mid-print. Not just the metal termination out of the plastic; the wire ripped out of the metal portion too, even leaving some of the shredded wire trapped inside. Despite my efforts, I didn't have the appropriate tools to pry the metal termination open. And that is why today the printer is rocking two different wire harnesses leading to the extruder assembly. Thank goodness for the redundant one in my box of parts, but learn from me: watch those cables! I have mine zip-tied together now to hopefully avoid snagging on anything.
Last Minute Clogs
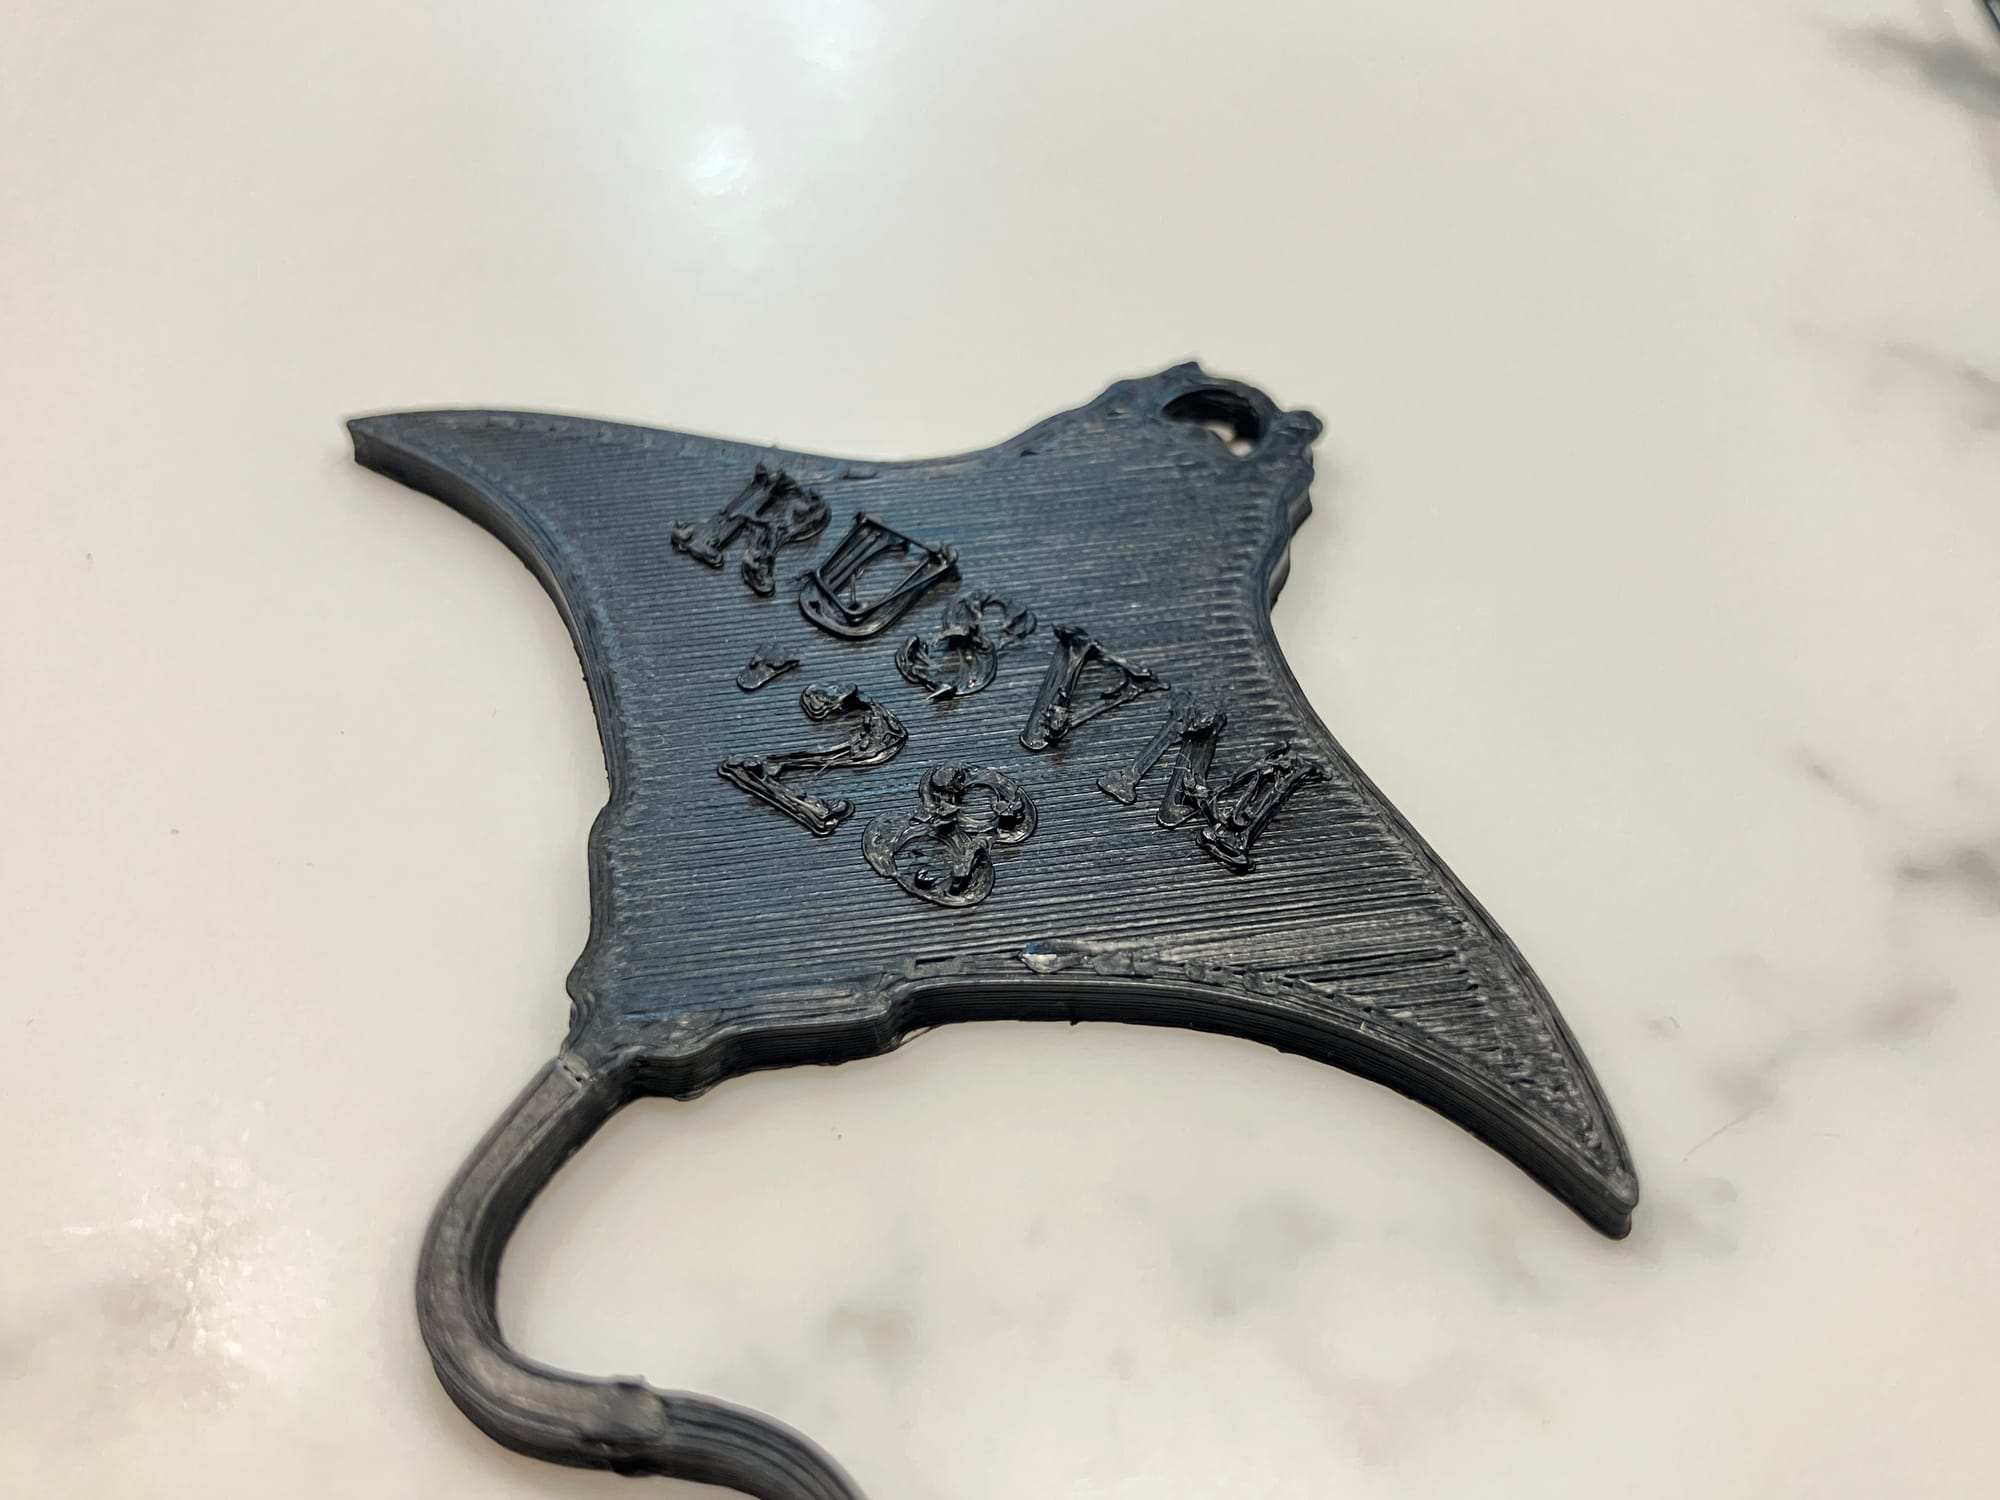
On several prints recently, I've encountered a frustrating problem: the job is 90% done and looks great, but then the last few layers are something complex like a pattern or text and the printer chokes, leaving a rough, stringy mess. I suspected this was the result of the humidity that the filament was exposed to in the hot Kittitian climate. While that may still be partially to blame - I still hear the occasional POP of moisture expanding in the print head - I found a solution that appears to have worked for the time being. It turns out that direct-drive extruders like the Micro Swiss Direct Drive require changing the retraction setting for your print. This describes the amount that the filament is pulled back when switching printing locations. By default, slicing programs like Cura set retraction at 5mm, but the Micro Swiss can only handle 1.5mm of retraction before molten plastic enters the cool portion of the extruder, causing a clog. Complex characteristics like text can result in several retractions in rapid succession, increasing the likelihood that one will result in a clog. In Cura, set the Retraction Distance setting to 1mm, then save the setting either to your individual print or to a custom printer preset.
Plate Adhesion - It just won't stick!
This is a common problem and certainly not one isolated to my island printer. I've tried all of the tricks: glue sticks, masking tape, huge rafts that are annoying to get off, and my personal favorite - mashing the print head against the build plate. All have their drawbacks, and that last one, which has been my go-to for my entire time as an Ender-3 owner, has some major ones. Bottom layers are slightly wider than those above, the extruder motor slips and chews the filament, and occasionally the bed will even get scratched or burnt. The solution: don't be afraid to adjust your temperature settings within the safe range for your printing material. Customizations like a glass bed and direct-drive extruder can result in filament sustaining different temperatures over its journey, which can affect how sticky it is when it reaches the bed. All-metal extruders like the Micro Swiss can conduct heat more readily, meaning the tip of the print-head may be cooler than in a stock configuration. Alternatively, glass beds notoriously take longer to heat up than their flex-bed counterparts, meaning that especially at the beginning of a print, both components may be making the filament cooler and less sticky than expected. By default, Cura sets the following temperatures for printing PLA plastic: Bed 50C, Extruder: 200C. I set my custom Cura profile for PLA to the following temperatures and have been seeing much better results: Bed: 65C, Extruder: 210.
Note: This can also result in a smoother, more connected surface on prints if you are struggling with gaps or grid patterns.
Check back here for more island printer updates! And if you have a suggestion for my setup or something you would like me to correct, please let me know.